If you have been looking for a crochet cat pattern that feels charming, customizable and satisfying to make, this guide will help you plan your next amigurumi project. These small sitting cats can be worked in classic orange, black, gray, white or calico-inspired colors, then personalized with a different face, tail position or yarn palette.
Below you will find the recommended materials, sizing guidance, color ideas, construction tips and answers to the questions crocheters often ask before starting. A cleaned, printable cat crochet pattern free PDF is available near the end of the article after email confirmation.
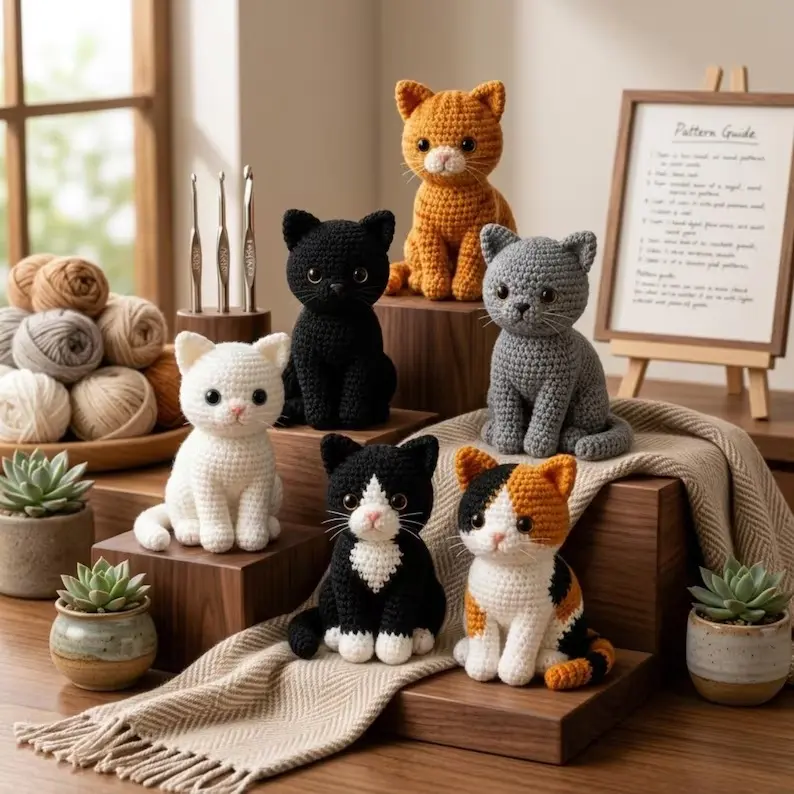
Crochet Cat Pattern at a Glance
- Project type: sitting crochet cat amigurumi
- Skill level: confident beginner to intermediate
- Terminology: US crochet terms
- Main techniques: magic ring, single crochet, increases, invisible decreases, color changes and sewing
- Suggested hook: 2-2.5 mm, adjusted to your yarn and tension
- Finished size: approximately 15-20 cm depending on yarn, hook and stuffing
The project is worked mostly in continuous spiral rounds. Stitch markers are essential because the beginning of a round can be difficult to see in dense amigurumi fabric. The pattern is best for someone who already understands basic single crochet and is ready to practice shaping and assembly.
Materials for Your Crochet Cat
You do not need a large supply list, which makes this an excellent project for using coordinated yarn left from other amigurumi animals. Choose smooth yarn that makes it easy to see each stitch and keep the fabric tight enough that the filling does not show.
- Sport or DK light-weight yarn in your main cat color
- Small amounts of white, black, pink or contrasting yarn for markings
- A 2-2.5 mm crochet hook
- 6-7 mm safety eyes or embroidered eyes
- Black embroidery thread for facial details
- Polyester fiberfill
- Yarn needle, scissors and stitch marker
- Optional pins for positioning the ears, arms and tail before sewing
Use safety eyes only when the finished cat is intended for an older child or adult. For babies and children under three, embroidered eyes and securely stitched features are the safer option. Always check that every yarn end and attached piece is firmly secured.
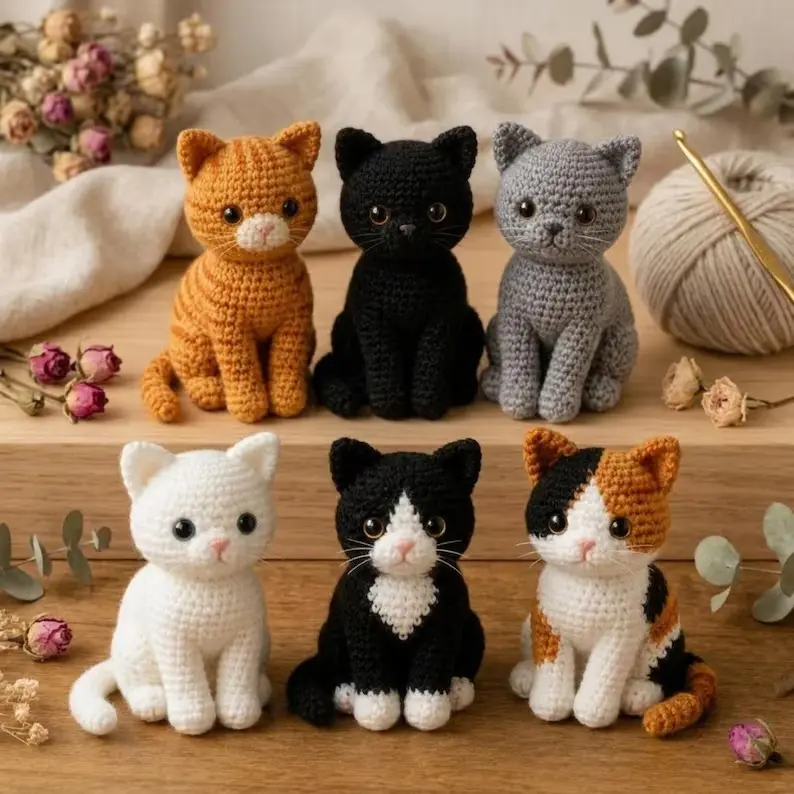
Choose a Cat Color and Personality
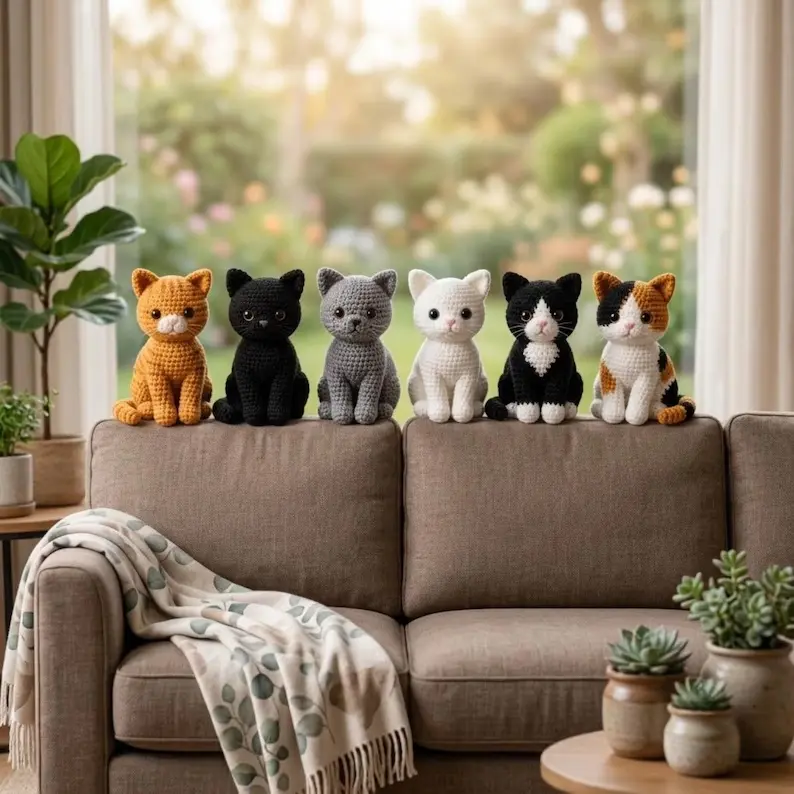
A simple silhouette becomes much more expressive when you change the markings. An orange cat feels warm and playful, a black cat creates a clean modern look, and gray yarn makes every stitch easy to see. White cats look soft and delicate, while tuxedo and calico versions are ideal when you want to practice controlled color changes.
Before you begin, sketch the color areas or place small yarn strands next to each other. High contrast helps the face remain visible in photographs. If you are recreating a real pet, focus on two or three recognizable features rather than trying to reproduce every tiny patch.
Gauge, Hook Size and Finished Measurements
Exact gauge is less important for a stuffed toy than it is for a garment, but stitch density matters. Your stitches should form a firm fabric without large gaps. If fiberfill appears between the stitches, move down one hook size. If your hands hurt or the hook is difficult to insert, loosen your tension or use a slightly larger hook.
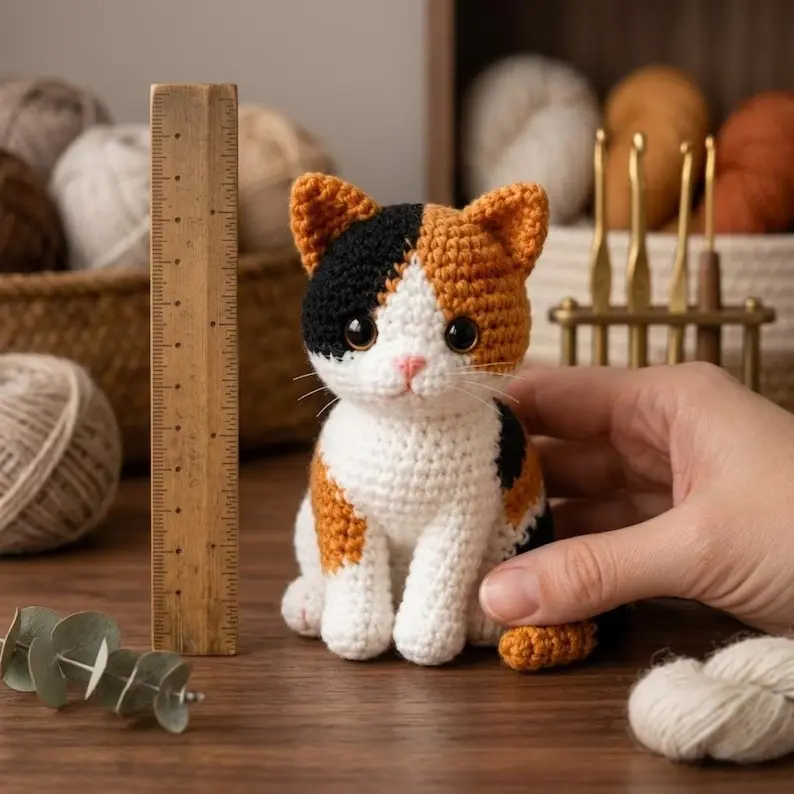
With sport or light DK yarn and a 2-2.5 mm hook, your cat may finish around 15-20 cm tall. Thicker yarn creates a larger plush, while fine cotton creates a smaller and more detailed result. Use the same yarn weight for all parts so the head, body and limbs stay proportional.
How the Crochet Cat Is Constructed
The printable pattern separates the project into manageable pieces. You begin with the head, using increases to create a smooth rounded shape and decreases to close it. The legs are crocheted separately and then joined so you can continue into the body. The arms and ears are made afterward and sewn in place during assembly.
- Crochet the head: mark every round, place the eyes evenly and stuff before the opening becomes too small.
- Make and join the legs: check that both pieces match before connecting them.
- Continue into the body: keep color changes aligned when making a striped sweater variation.
- Add the arms and ears: pin both sides before sewing so the pose remains balanced.
- Embroider the face: use small stitches and check the expression from several angles.
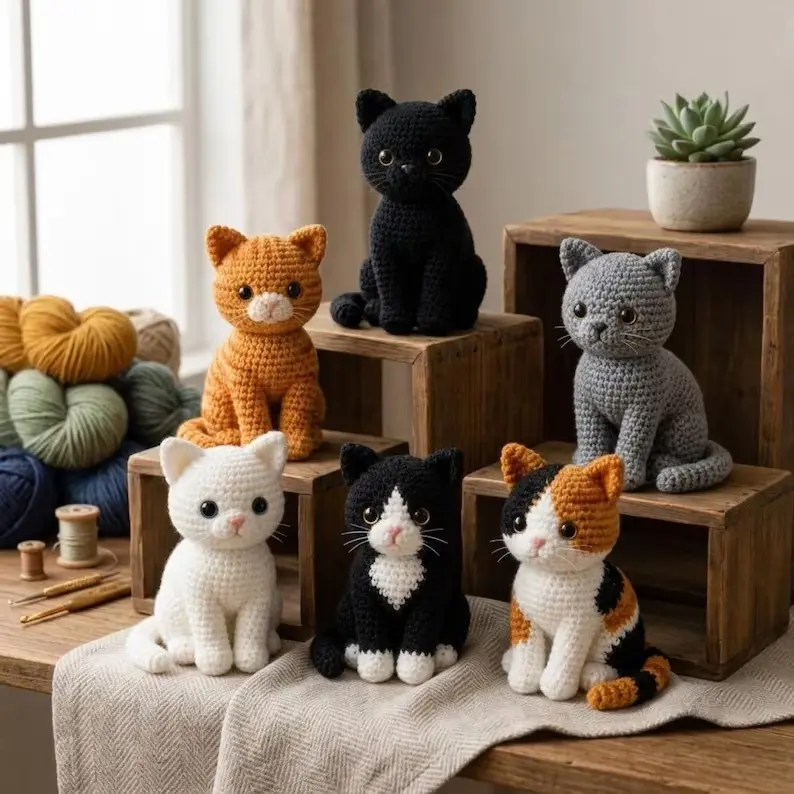
Five Tips for a Neat Amigurumi Cat
1. Use an invisible decrease
Working through the front loops when decreasing creates a smoother surface and helps prevent obvious holes around the head and body shaping.
2. Add stuffing in small amounts
Small pieces of fiberfill produce a more even shape than one large clump. Fill the cheeks, neck and lower body gradually, then check the silhouette before closing.
3. Keep color changes on the same side
Plan the less-visible back or side of the cat as the location for yarn changes. Tighten the first stitch in each new color carefully without distorting the fabric.
4. Pin everything before sewing
Temporary pins let you compare both sides and adjust the expression. View the cat from the front, side and top before making the final stitches.
5. Shape the face with embroidery
A tiny pink nose, short mouth line and delicate whiskers give the toy personality. Avoid pulling embroidery thread too tightly because it can flatten the muzzle.
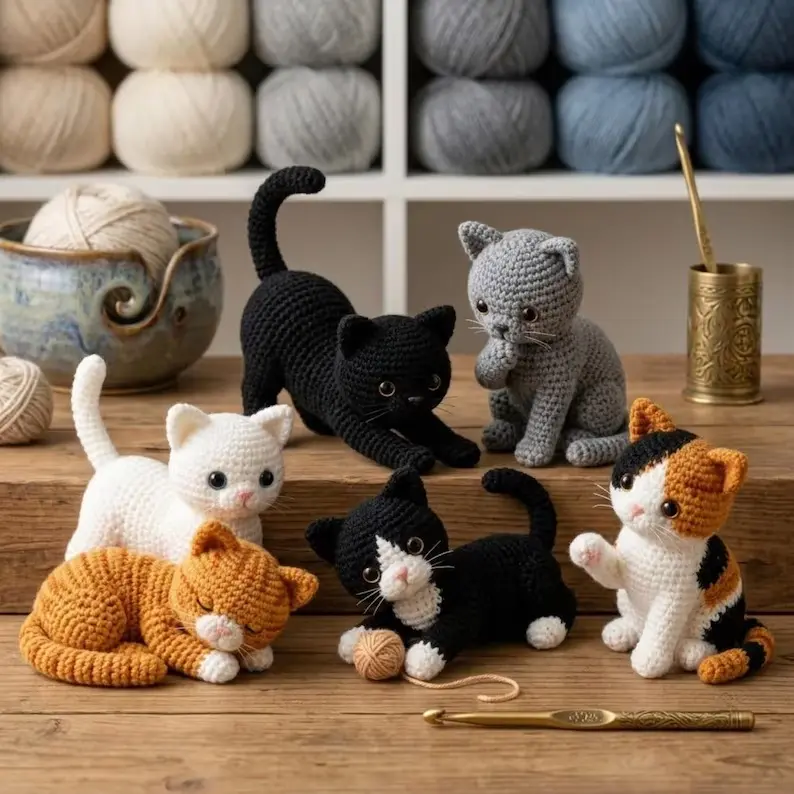
Want to Test New Crochet Patterns?
Before selected designs are released, we invite a small group of crocheters to make them and share honest feedback. Join the Crochet Pattern Muse tester list for a chance to be one of 10 testers. Invitations are limited and joining does not guarantee selection.
[cpm_tester_form]
After signing up, check your inbox and confirm your email. You can unsubscribe at any time. See our Privacy Policy.
Easy Orange Crochet Cat Variation
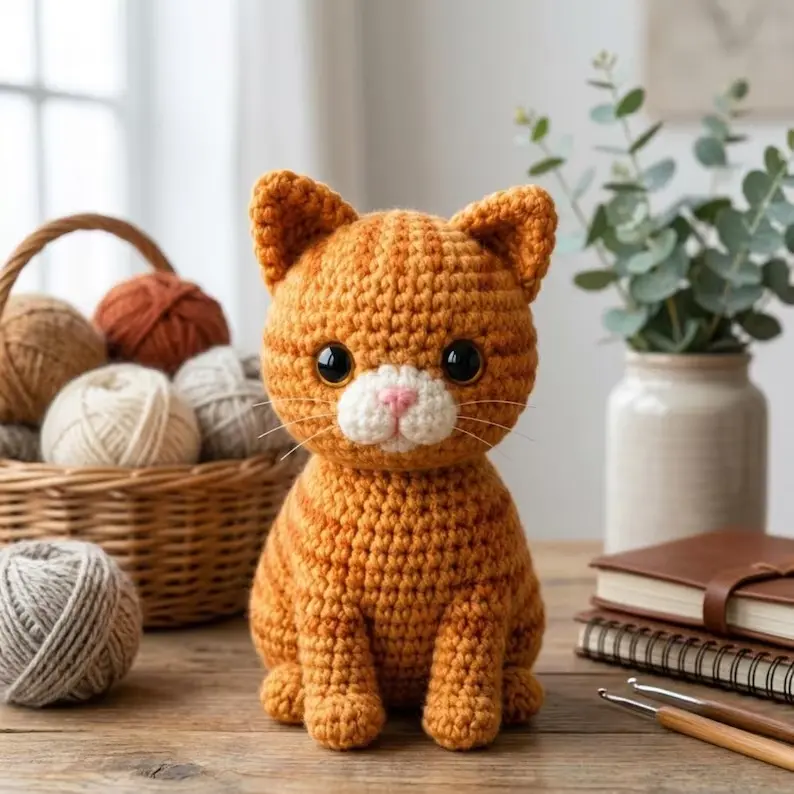
If frequent color changes feel intimidating, begin with one main color and reserve white only for the muzzle. This lets you concentrate on counting, shaping and even stuffing. Once you are comfortable with the construction, use the same basic form to make black, gray, white, tuxedo or calico cats.
Frequently Asked Questions
Is this crochet cat pattern suitable for beginners?
A confident beginner can make it after learning the magic ring, single crochet, increases and decreases. The colorwork version is easier after completing one solid-color cat.
Can I use plush yarn?
Yes, but plush yarn creates a much larger cat and makes individual stitches harder to see. Increase the hook size to suit the yarn and use larger safety eyes, while keeping the proportions consistent.
How do I stop stuffing from showing?
Use a smaller hook, maintain firm even tension and avoid overstuffing. If gaps appear only around decreases, switch to the invisible decrease method.
Can I sell finished crochet cats?
Check the designer’s current terms before selling finished items. Do not reproduce, resell or redistribute the written PDF unless you have explicit permission from the rights holder.
Get the Free Crochet Cat Pattern PDF
Enter your email and confirm it from your inbox. After confirmation, the corrected printable crochet cat amigurumi pattern will open automatically.
[cpm_pdf_gate]
By submitting, you agree to receive Crochet Pattern Muse emails. You can unsubscribe at any time. See our Privacy Policy.
Want Six Detailed Cat Styles?
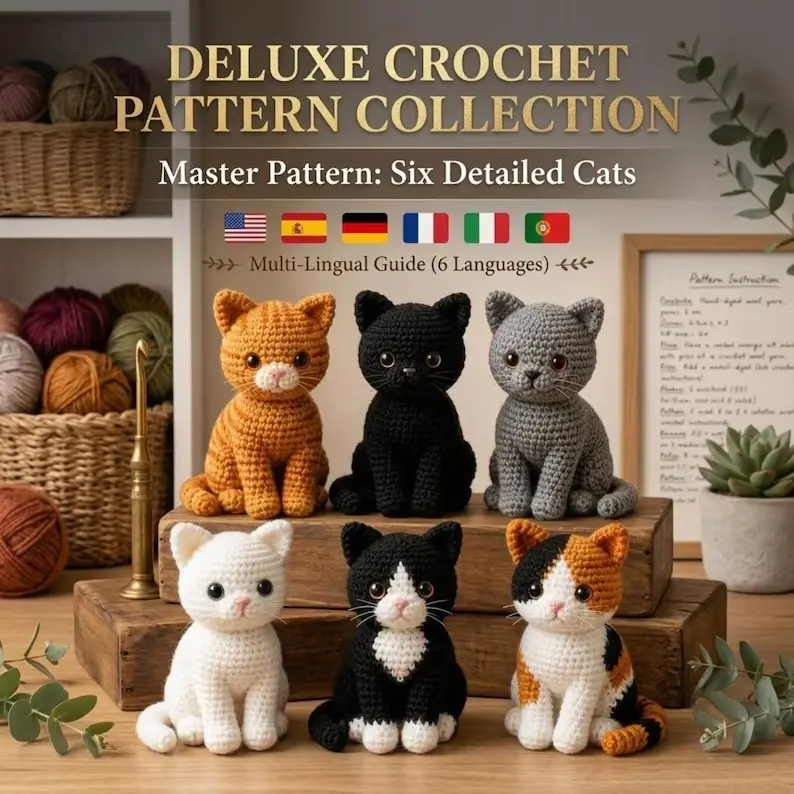
The free download above is a single-cat pattern. The premium collection is a separate expanded product designed for makers who want additional coat styles and more detailed guidance. Product availability, included languages and final purchase details should always be confirmed on the product page before ordering.
For more handmade inspiration, explore our crochet patterns and project guides. Save your favorite cat color idea now so you can return to it when choosing yarn.